Texturing

Over the past few days I have begun my final phase of modelling my assets. Now to start with I had to come up with a reason or narrative for the objects, what was their purpose for the object, where would it be etc.

I recently purchased a set of abandoned factory environment maps from Image based Life (link below) to help drive a narrative element to the project.

https://www.imagebasedlife.com/product/abandoned_military_factory/

So the narrative itself is based on the idea that the objects have been used and with the theme set around an alternate world war the technology hasn’t been replaced or improved making some areas of the objects rust under the various conditions of the world as well as illustrating that the overall theme of the objects are more function over aesthetics. Even as far as having some make up parts of the surrounding architecture.

At last some success

I’ve been pretty busy today trying to get over the idea of failing to finish my project. Which is why I have decided that by the end of this week I will finish whatever meshes I have started and have them prepped and hopefully textured in time for the deadline. The main issue with this plan is how to models can be used in film as I have little to no idea how they would work other than being composited onto some motion tracked footage. Jon had mentioned Cycles which is another side to Blender that I haven’t dared to go near as of yet, hopefully it’s not too late to learn.

Okay so the success is that I have finally made a colourID map. It took numerous attempts but I think I had the basic concept down I was just in such a rush to try and get something textured that I missed the final step and maybe got a few in the wrong order.

Step 1: Apply materials to desired objects make sure that the Diffuse intensity is at 1 and the Specular intensity is at 0

Step 2: In edit mode, work through UV unwrapping after applying rotation and scale

Step 3: Once everything is unwrapped, join the separate objects

Step 4: UV unwrap again, this time ‘pack atlas’ and ‘average maps size’

Step 5: Once everything is sorted create a new layer in the UV tab

Success! Now to hurry.

Over the past week I have been working on exporting my meshes with a colour ID map ready for Substance painter. I finally got it down, turns out I had missed a step or two during the mad rush sessions I’ve head recently. So good news first, because I have to appreciate my work and the skills I have learnt.

So…

All the models I have are ready to be textured, they all have colour ID maps and they can be brought into Substance Painter at any time once they are exported. Currently there are approximately 18 meshes that will be sent out to be textured.

Bad news (Well self-imposed deadline)

On friday I decided that anything that I didn’t have UV unwrapped, and have a colour ID for would be cut from my project. This was done so I didn’t spend all week working on new meshes and risk not finishing the project. It is a little bit of a shame because this decision has removed 5 meshes but has allowed me to move forward for thursday’s deadline.

…And this left me with something similar to this:

Mixing the good with the bad…

Substance painter seems to work after the recent update, however I can only work at 1k without pushing my laptop too far.

[insert flipped_desk.jpg]

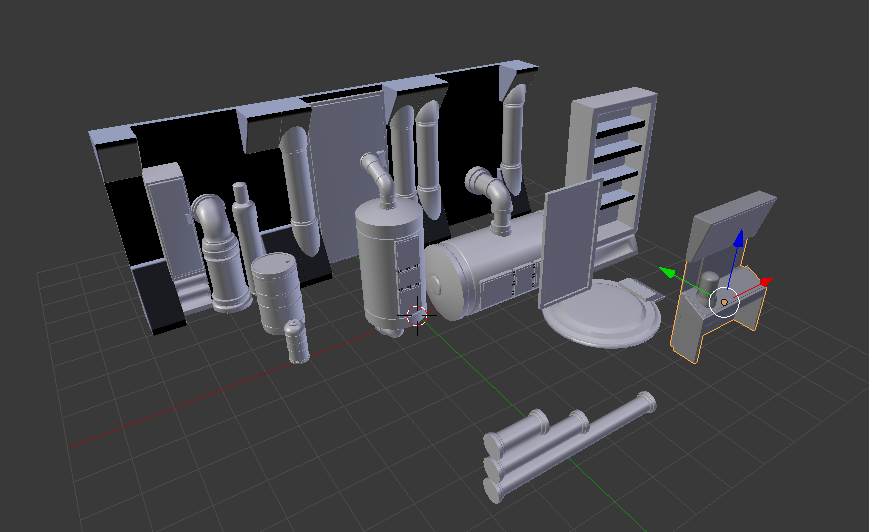
After a day of making various meshes I slowly realised I may be doing something very wrong by making everything in one project file (with numerous iterations) my reasoning behind this is that of few meshes I tried to UV unwrap none of them seemed to do so correctly.

I had also spent the day trying to make a colour ID map per mesh… Which took a long time but in the end it also seemed to fail.

BUT

There is a slight silver lining… Well kinda concrete I guess. Whilst I was having a bit of a mad panic I decided to load up Substance B2M and have a go at making my own texture from what I could remember from the Game Design Workshop. I know I should be focusing on the project at hand but I intend to use the meshes for my next project… Or at least some variations of them. So even though I am panicking a little too much right now it’s pointless to give up, so I’m aiming to use what failures I have encountered to build upon for the next project.

The main thing that I have to keep reminding myself is that this is an entirely new skill set and I decided to just jump in, which might not have been the best approach. However so far I have enjoyed creating the meshes and essentially creating my own world out of what I have learnt.

ANYWAY

I have taken time to use B2M in order to make a material from an image via textures.com, what B2M does is turn a bitmap image into a material, or at least export the following components of a material map as a desired image file type. (I chose .PNG files because I know that I can open them without additional software after the exporting process.)

  • Base Colour
  • Roughness
  • Metallic
  • Diffuse
  • Specular
  • Glossiness
  • Normal
  • Height
  • Displacement
  • Bump
  • Ambient Occlusion
  • Curvature
  • Detail Normal
  • Emissive
  • Opacity

Thinking back I should have probably deselected some of these as the material is supposed to be concrete, there wouldn’t be many (if any) metallic propeties to the material. There are a few others that I’m not so sure on but I figured if it’s not broken then why fix it? Knowing how I work I’ll likely end up regretting this decision later.

Work done today

After my near-deadline panic, I had a tutorial and it helped a lot. There was a lot of reassurance from Jon that I do know what I’m doing, I just need to trust myself more, but what also helped was James showing examples from the Unreal Store and pointing out what might be wrong with them.

So with this all in mind I had worked on some new meshes more as a way to try relaxing whilst practicing my skills until I ended up with some new meshes that were made to the scale of a 2.5 meter high wall mesh. Then I just kept working and several hours later I feel that I am getting pretty close to UV unwrapping the meshes and taking them into Substance Painter sooner rather than later.

(Image here)

After a breif walk I decided to inally make a logo for my “company” that would act as the branding for my project.  I decided to go for a robot as my joke I often share with friends is “This machine needs coffee” Originally  Ihad thought of a robot drinking coffee but I’m yet to decide on a name. To start with I thought of Machine studios, but I am starting to think ‘Lil Robot appears more relevant.

(image here)